
I’ve been paying more attention to my hands lately, and I’ve noticed how much a simple Dry Manicure can change the way my nails look and feel. I used to think soaking my hands was part of the routine, but now I prefer a Dry Manicure because it feels cleaner, more controlled, and honestly just more effective for how my nails behave day to day. Every time I choose a Dry Manicure, I see smoother polish application and fewer little issues like lifting or uneven edges, and that alone makes me stick with it.
I also like how a Dry Manicure fits easily into my regular self-care habits without feeling complicated or time-consuming. I’ve found that when I follow a consistent Dry Manicure routine, my nails stay neater for longer, especially when I combine it with simple Nail Care Tips that help me maintain strength and hydration between sessions. For me, the Dry Manicure isn’t just a technique, it’s become a small but important part of how I keep my nails looking healthy and presentable without extra effort.
Why You Need to Choose a Dry Manicure
I switched to a dry manicure after realizing how much cleaner and longer-lasting my nail appointments became. Instead of soaking my hands in water, a dry manicure lets me work on clean, dry nails so polish adheres better and the final result looks smoother. It also makes it easier to see the true condition of my cuticles and nail plate before starting. Every time I choose a dry manicure, I notice my manicure stays fresh for longer and chips less often.
Another reason I love a dry manicure is that it fits almost any nail care routine. Whether I’m doing my nails at home or visiting a salon, this method helps create a polished look while keeping unnecessary moisture away before polish application. A dry manicure is simple, practical, and works well for natural nails, gel polish, and long-lasting manicures alike.
Helpful Tips to Consider Before Getting a Dry Manicure
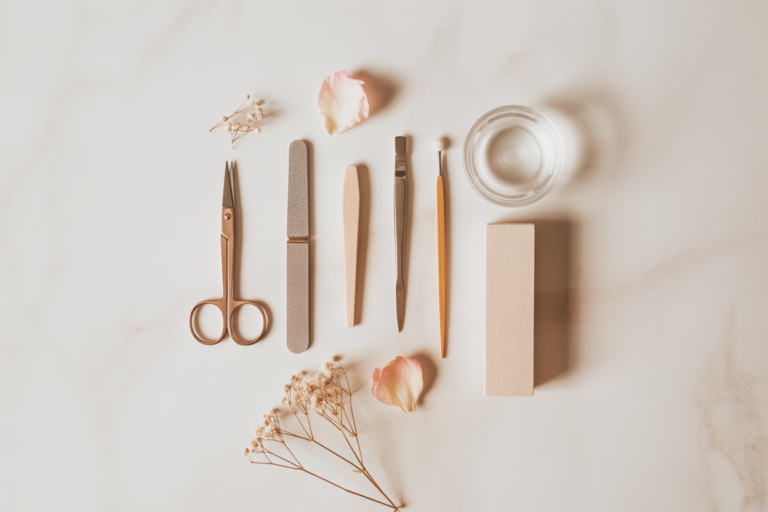
Before starting a dry manicure, make sure your nails are completely clean and free from old polish or oils. Use sanitized tools, trim only when necessary, and gently care for your cuticles instead of cutting too much. Working on dry nails gives you better control and helps you see every detail more clearly.
It’s also a good idea to finish your dry manicure with nourishing cuticle oil after your polish has completely dried. Moisturizing afterward keeps your skin soft without affecting polish adhesion. Taking your time, using quality tools, and following a consistent routine will help you get professional-looking results every time.
10. Clean the Nails Thoroughly
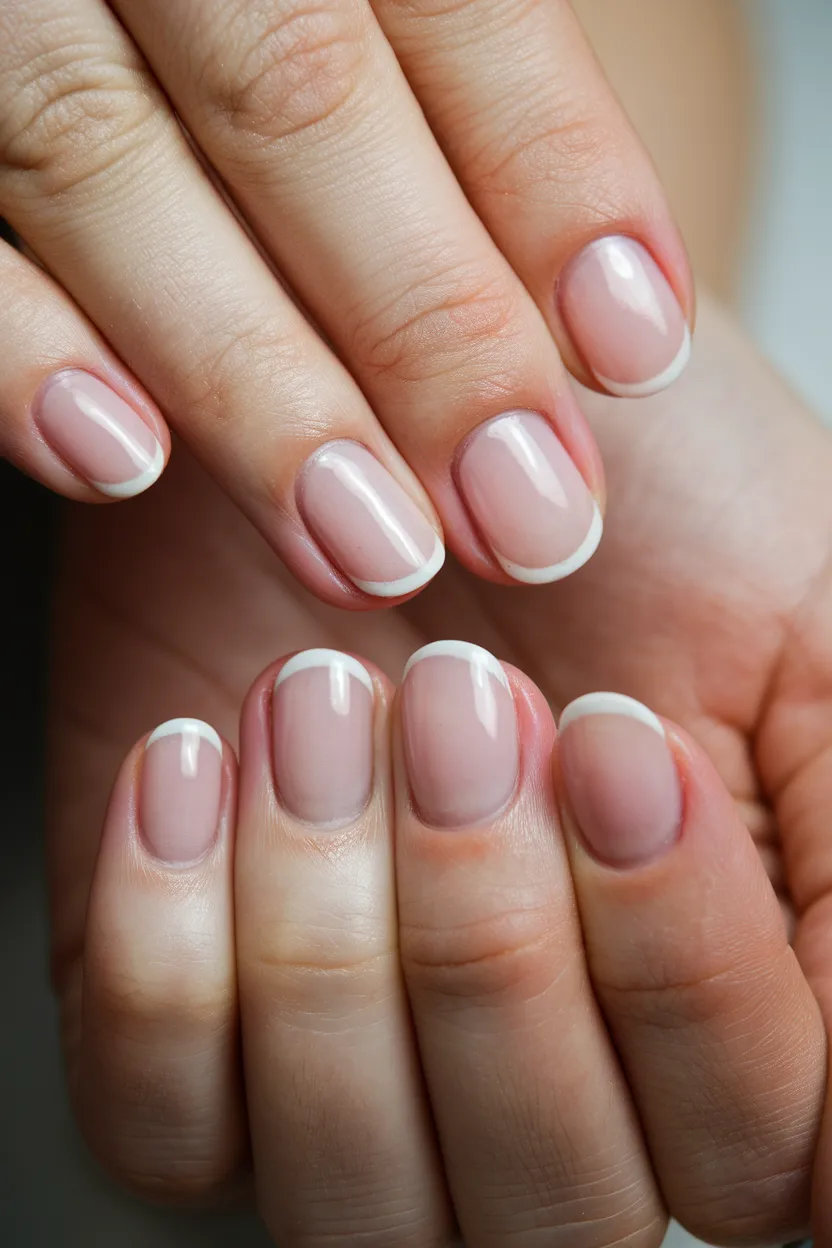
A strong dry manicure routine starts with a completely clean nail surface. Removing old polish, dust, and natural oils ensures a fresh foundation for every step that follows. I always take a moment to double-check each nail before moving forward. This helps improve adhesion and prevents uneven texture. Clean nails also allow polish to sit more evenly, reducing streaks and early chipping. This first step sets the tone for a smooth and long-lasting result in any dry manicure routine.
9. Push Back Cuticles Gently
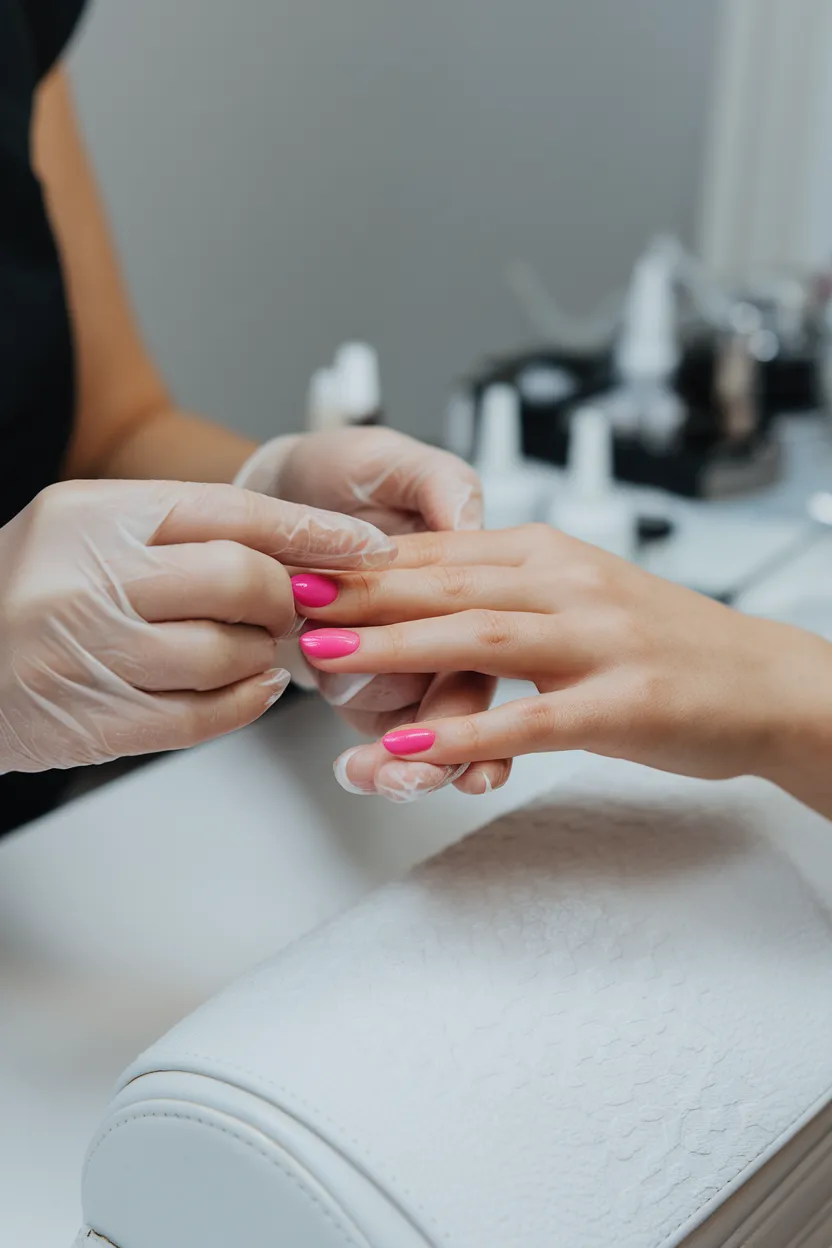
In a dry manicure routine, cuticles should be handled with care instead of being removed aggressively. I prefer gently pushing them back to keep the nail bed neat while protecting the skin. This creates a cleaner look without causing irritation. It also exposes more of the nail surface for better polish coverage. A light touch is always best here, as healthy cuticles support stronger nail growth. This step improves appearance while keeping the process safe and balanced.
8. Shape Nails Evenly
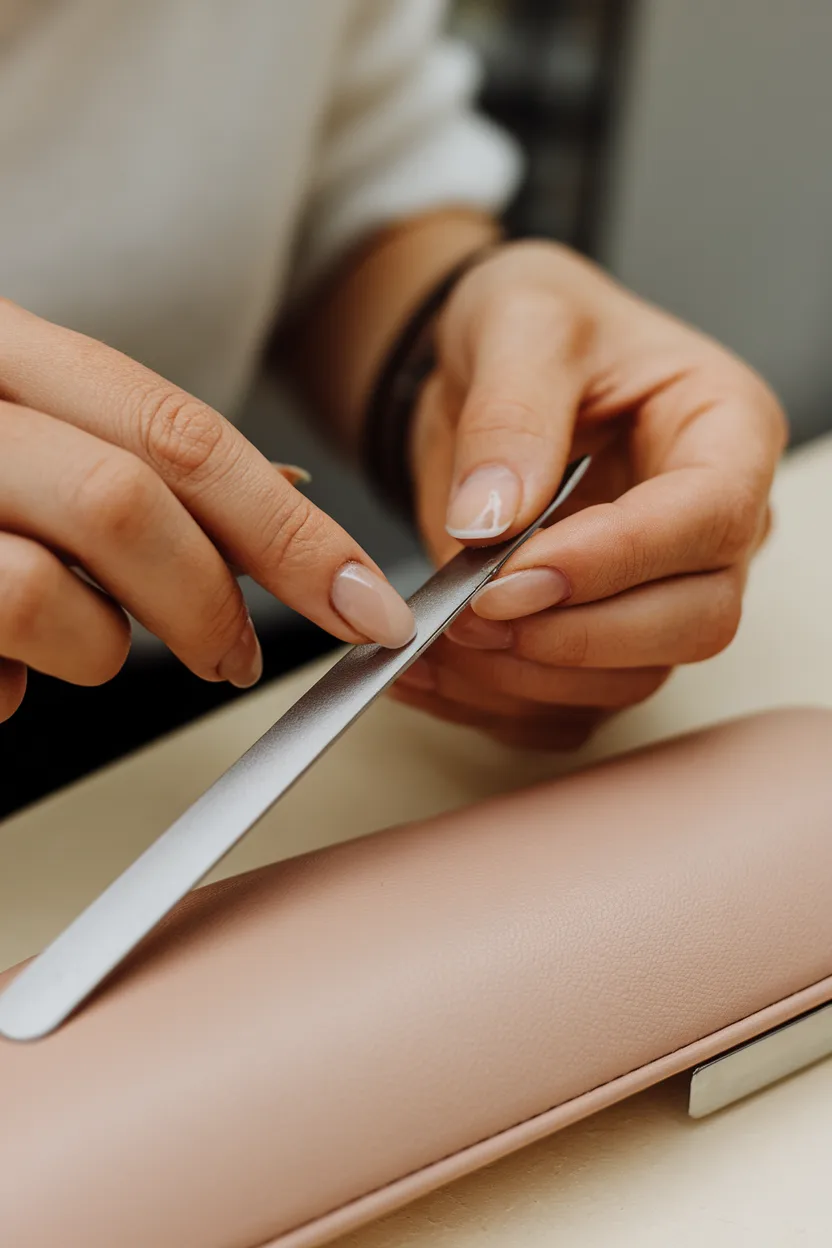
Shaping is an important part of a dry manicure routine because it defines the overall look. I usually file in one direction to avoid weakening the nail edges. Choosing a consistent shape helps create a polished, balanced appearance. Whether short or long, smooth edges make a big difference in the final result. This step builds structure and prepares the nails for the next stages, ensuring everything looks neat and intentional.
7. Buff Lightly for Smoothness
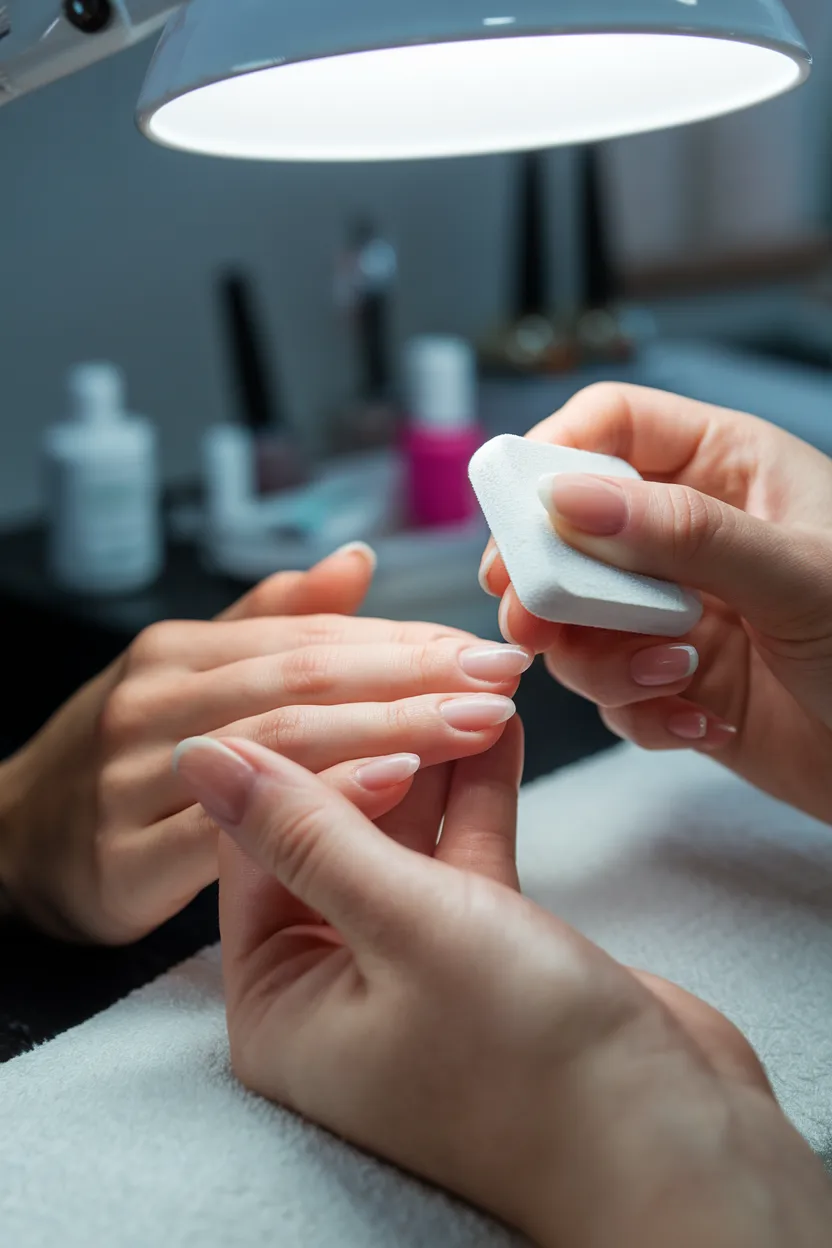
Buffing is used in a dry manicure routine to smooth ridges and create an even surface. I keep it very light to avoid thinning the nail plate. Over-buffing can weaken nails, so moderation is important. A smooth surface helps polish apply more evenly and reduces streaks. This step improves texture without damaging nail health. It also gives a cleaner base for color, making the manicure look more refined.
6. Remove All Dust
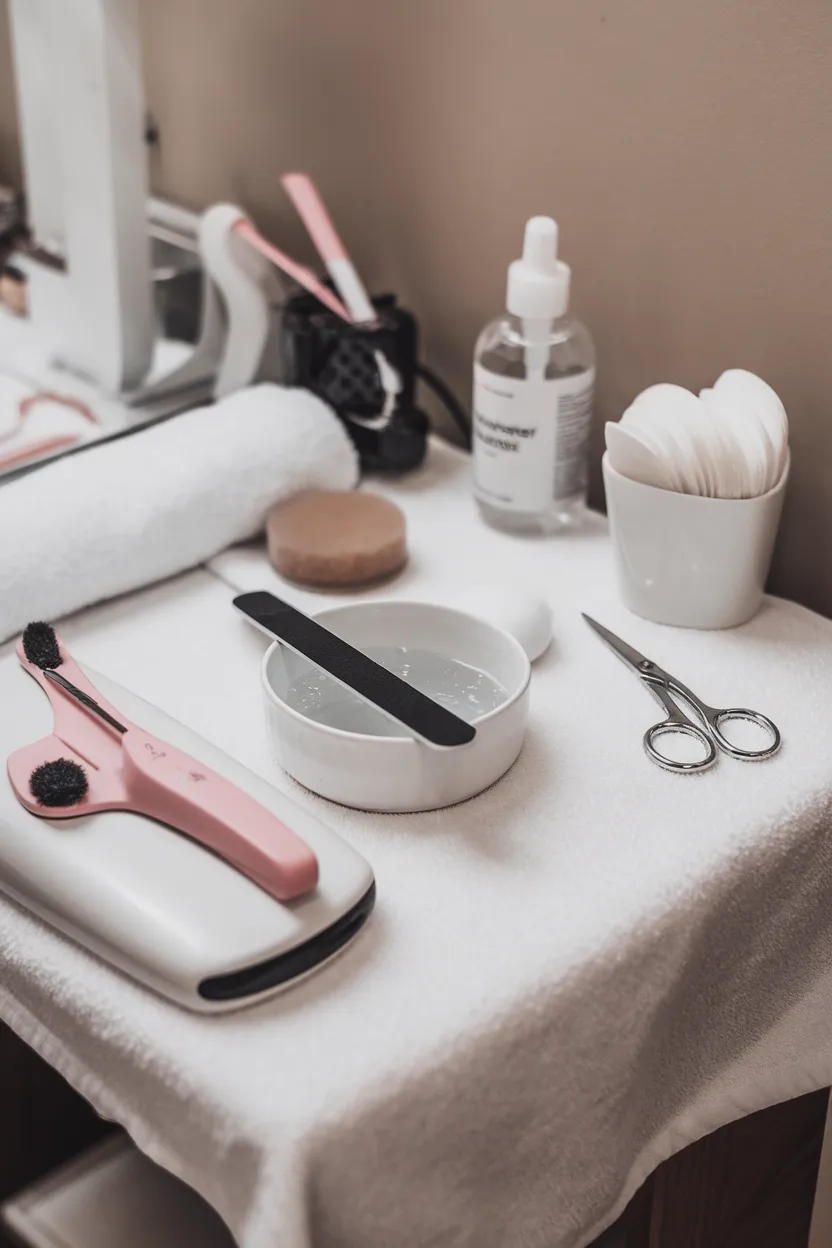
After shaping and buffing, removing dust is essential in a dry manicure routine. I always use a soft brush and a lint-free wipe to clear the nail surface completely. Even small particles can affect polish application and create bumps. A clean surface ensures smoother layers and better durability. This simple step helps improve the overall finish and keeps the manicure looking professional and polished.
5. Apply Base Coat Smoothly
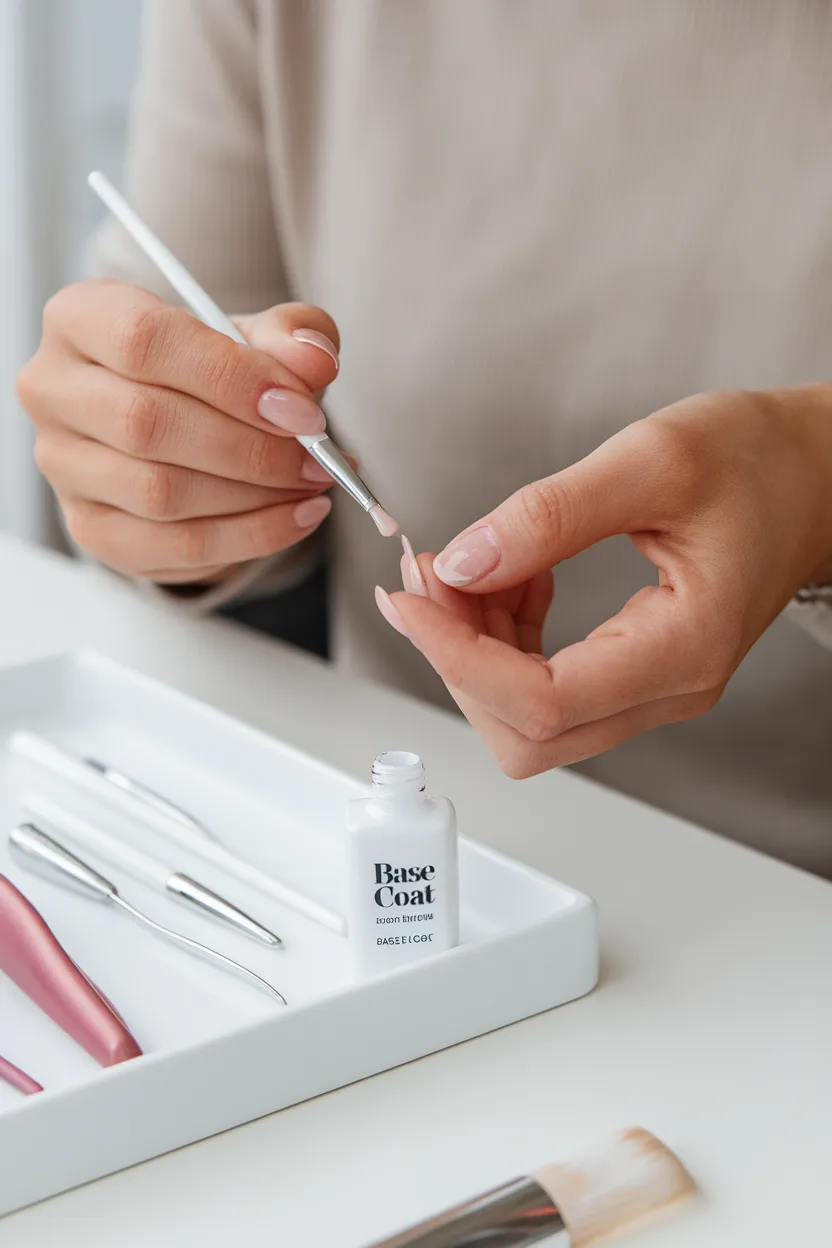
A base coat is a key step in a dry manicure routine because it protects the nail and improves polish adhesion. I apply a thin, even layer to create a smooth foundation. This helps prevent staining and increases wear time. A good base coat also reduces peeling and supports a more even color application. This step strengthens the entire manicure from the start.
4. Apply Thin Layers of Color
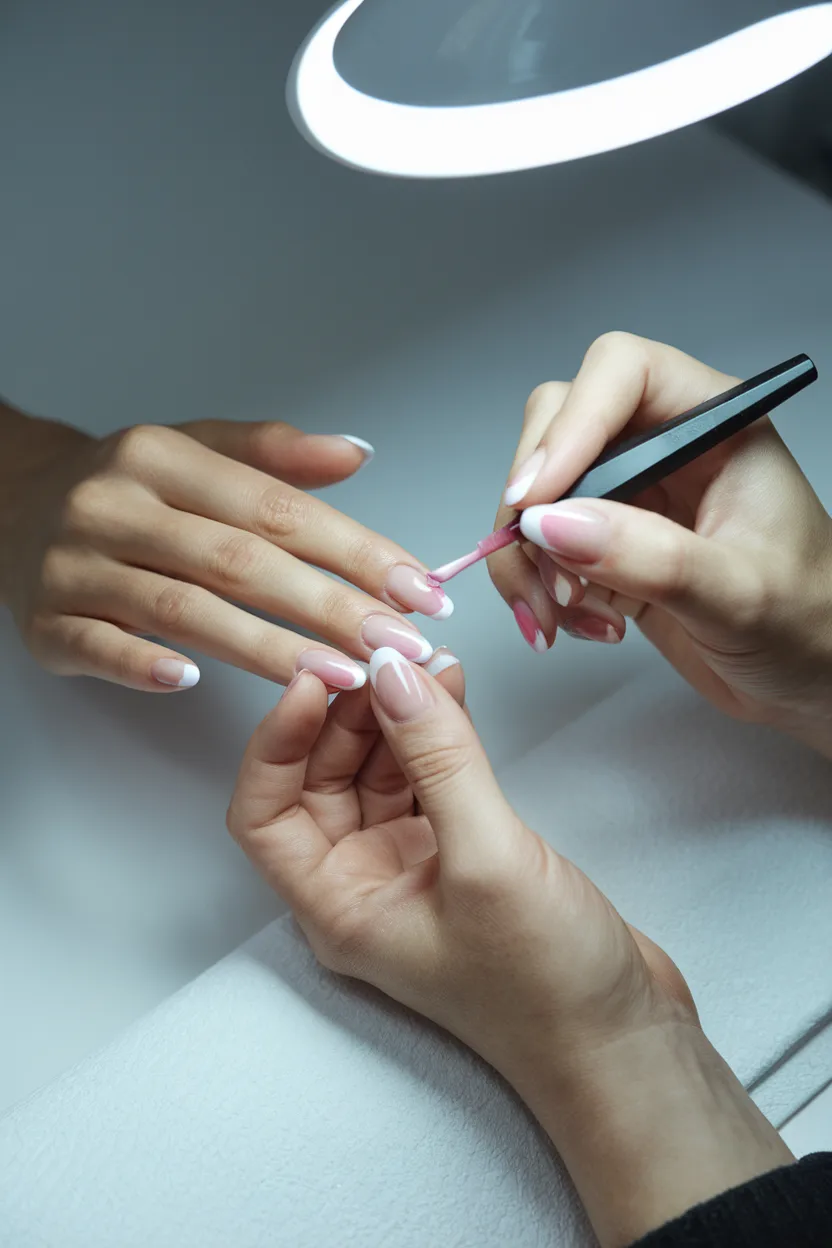
Thin layers are essential in a dry manicure routine for a clean and even finish. I avoid thick coats because they take longer to dry and can cause smudging. Instead, I build color gradually with light layers. This helps prevent streaks and bubbles while improving durability. The result is a smoother, more natural-looking manicure that lasts longer.
3. Seal the Nail Tips
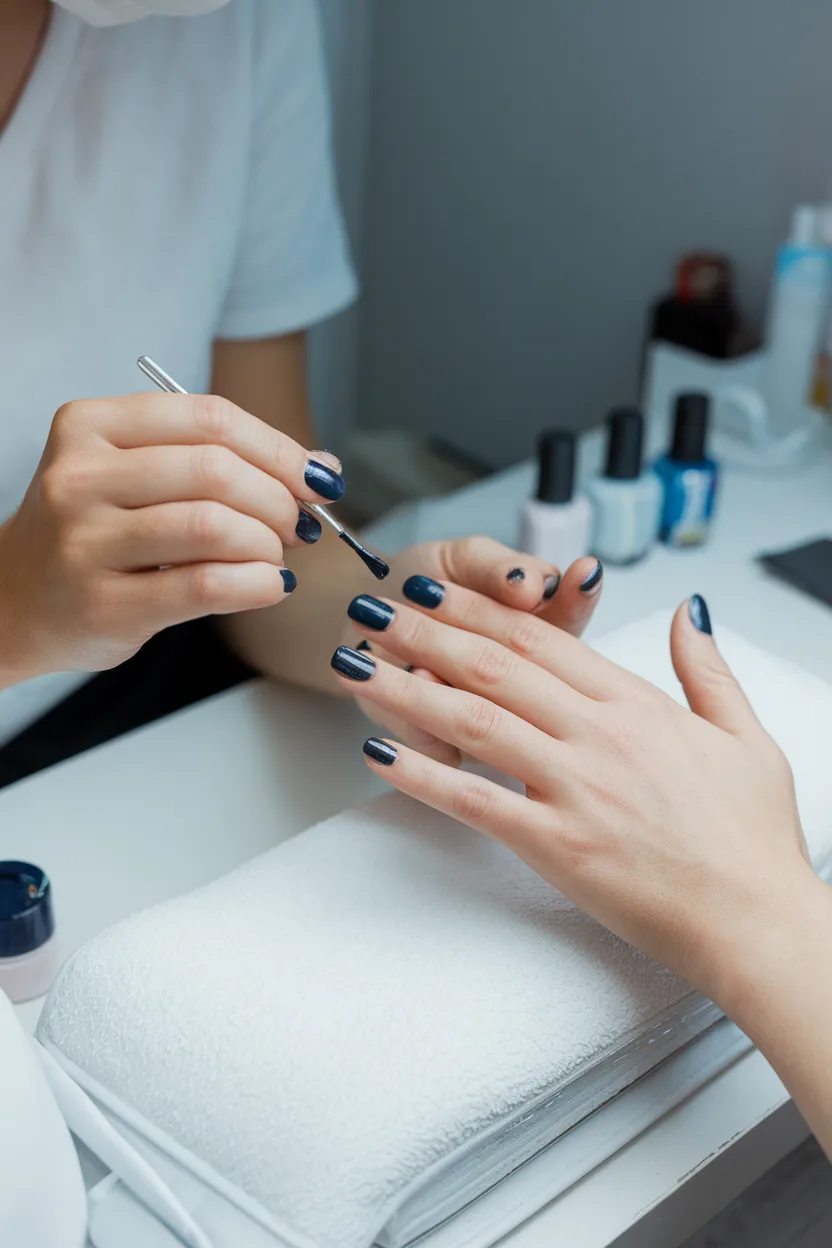
Sealing the edges is a small but important detail in a dry manicure routine. I lightly swipe polish across the nail tips to protect them from daily wear. This helps reduce chipping caused by everyday activities. It only takes a moment but greatly improves longevity. This finishing touch strengthens the overall manicure and keeps it intact for longer.
2. Finish with a Top Coat
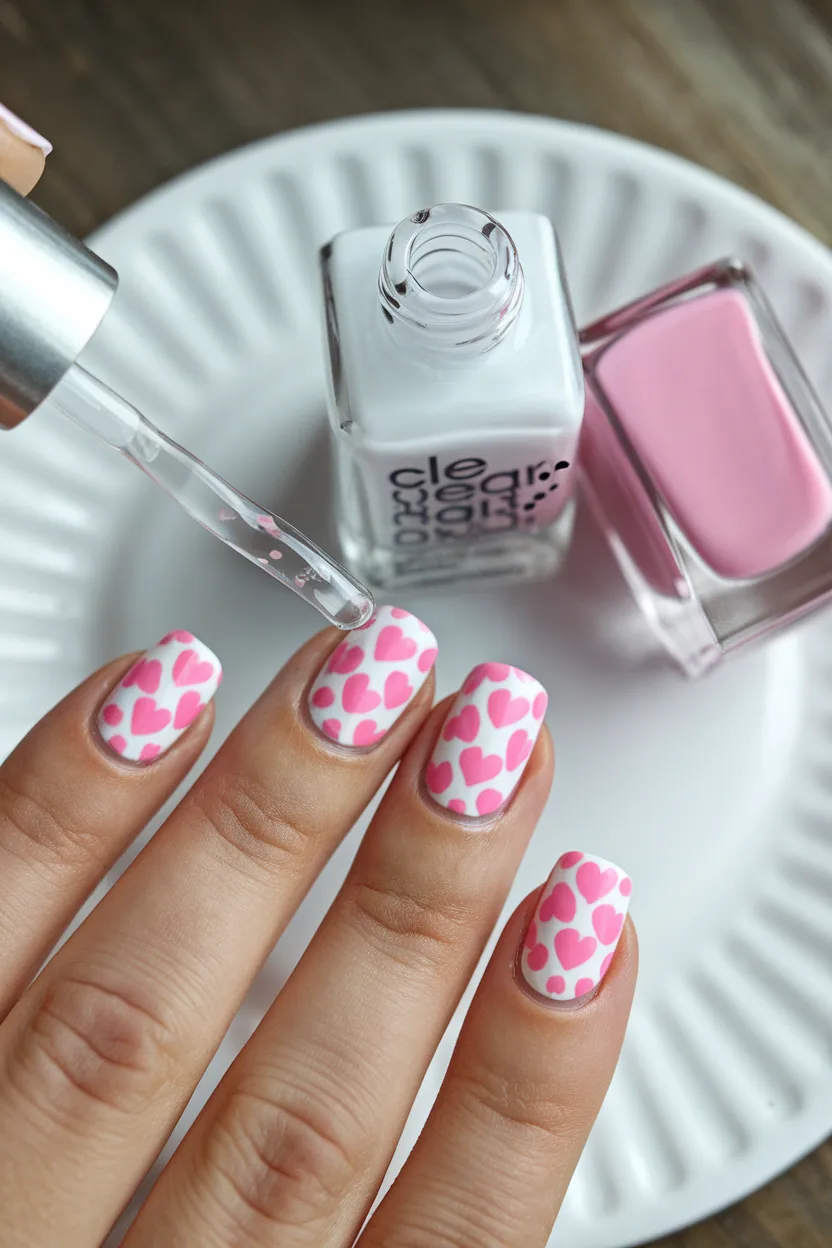
A top coat completes the dry manicure routine by adding shine and protection. I apply it evenly across the nail and seal the edges for extra durability. It helps prevent scratches and keeps the color fresh. A good top coat also smooths the surface and enhances the final appearance. This step locks everything in place and gives a polished finish.
1. Maintain Nails Afterward
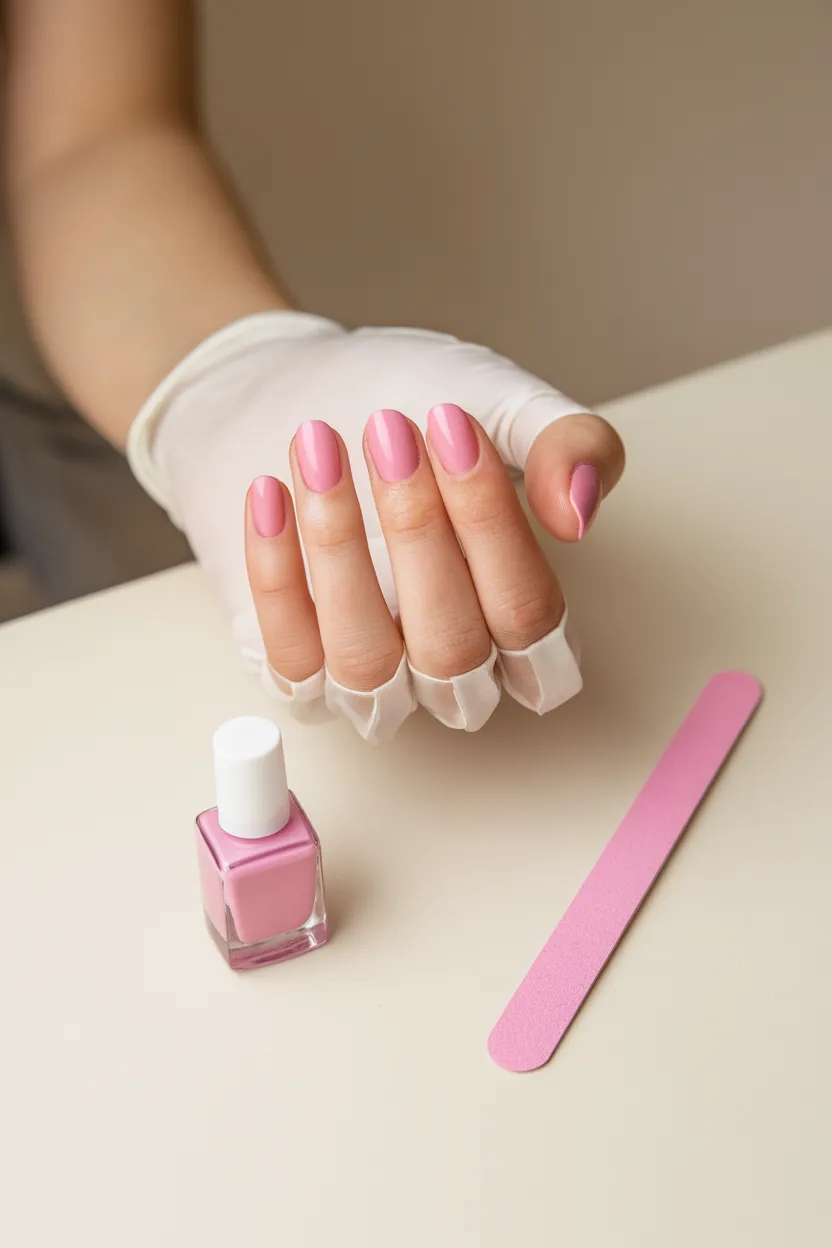
Maintaining a dry manicure routine is what keeps results looking fresh longer. I moisturize my hands regularly and avoid using nails as tools. Wearing gloves during cleaning also helps protect the polish. These simple habits extend the life of the manicure and keep nails looking neat. Consistent care makes a noticeable difference in how long the results last.
Conclusion
A dry manicure routine is an effective way to achieve clean, long-lasting nails with minimal effort. With the right steps and consistent care, the results can look smooth and professional for days. I hope this guide helps you improve your nail routine. If you enjoyed it, consider subscribing for more simple beauty and nail care tips.